If you don't have a camera, download the sample MXF from our website and use that in place of a real MXF file from the camera. Tip: To see the file extensions in Windows, select Tools->Folder
Options->View and unselect (uncheck) the check box for "Hide File
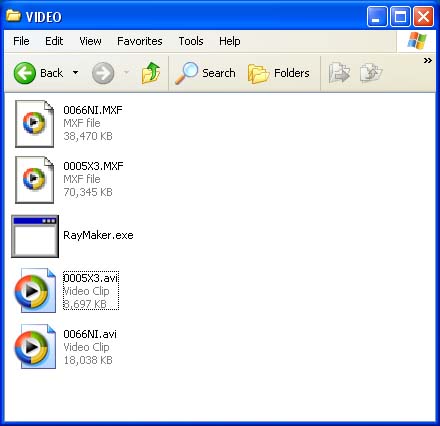
Extensions for Known File Types" At left you can now see the file extensions, .MXF for the original
clips and .avi for the Raylight AVI's. If the file contains 60i format video (29.97 frames/sec), you
will be asked if you want to remove any 2:3:3:2 pulldown. Answer
y (yes) and hit Enter on your keyboard if the clip was shot in
1080-24PA mode (24P with 2:3:3:2 pulldown). This pulldown remove
feature can also be used for DVCPRO50 and DV. If you shot DVCPRO50 or plain DV (DV25), RayMaker can also convert
those to self-contained AVI files using the Matrox DVCPRO50 or
the Microsoft DV codecs, respectively. For more information on
using DVCPRO50 and DV from the P2 card, see the Raylight Tutorial, Part 5. DO NOT REMOVE, RENAME OR DELETE the MXF files. They will be used
by Raylight for the final rendering of your movie. You can view the AVI files by double-clicking on them to open
them in the Windows Media Player. Hint: you will get smoother playback in the Windows Media Player
(WMP) by using 50% size setting. The Raylight Control panel will
also allow you to control the quality in WMP. But do not use WMP
to judge the fine quality of the video, but rather use the clip
viewer in your video editing system. OR Click here to learn how to edit with Adobe Premiere and Raylight

Step 5: Connect the camera to your USB port and drag the CONTENTS
folder of the P2 card to your media hard drive. Then Control-drag
the RayMaker application (in other words make a copy of it) to
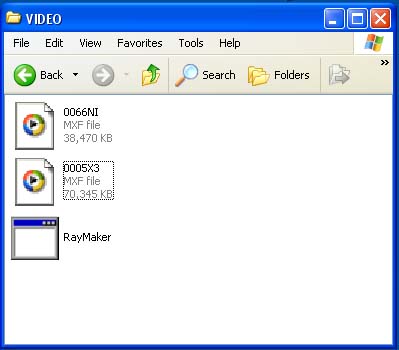
the VIDEO subfolder. See folder at right showing RayMaker in the
VIDEO folder. Remember-- don't copy a shortcut (link) of RayMaker,
make a real copy.

Step 6: Double-click on RayMaker to convert the MXF files to Raylight AVI.
(Technical Detail: You'll notice the file size of the Raylight
AVI's are a lot smaller than the MXF files. That's because the
Raylight AVI is a Transparent Proxy. That means that it holds a low-res version of the clip that
is used for playback on low-cost computer systems (Raylight Red). But each frame in the AVI also contains an invisible link to
the original frame data in the MXF file. This link is used by
the Raylight codec to get the full-quality frame data for use
in the Raylight Yellow and Raylight Blue quality modes.)
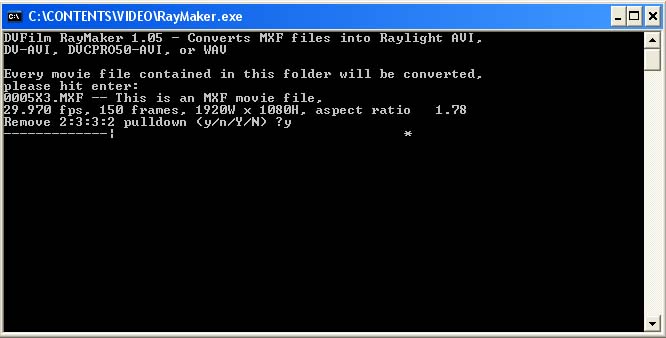
When RayMaker is running you'll see a Windows Console Display
like this (at right) with a progress bar of dashed lines.

RayMaker will convert every MXF file in the video folder. If it
needs access to the MXF files in the AUDIO subfolder, it will
automatically find them. RayMaker will automatically skip any
file in the folder that is not an MXF file. If there are any audio
MXF files in the folder, RayMaker will convert those to WAV files.

When RayMaker is finished you will see AVI files with the same
file name as the MXF files. See at left (bottom two files).
(Technical Detail: If you ever need to rename or move your folders
on the media drive, you can easily remake the raylight AVI's by
leaving a copy of RayMaker in the folder. Double-click on RayMaker
to remake them after moving the folder. You can also move the
Raylight AVI's to anywhere on the Media drive, but in this case
your editing system will have to reconnect media (find the AVI's)in
their new location.)